Difference between revisions of "Solder shield and connectors"
| Line 13: | Line 13: | ||
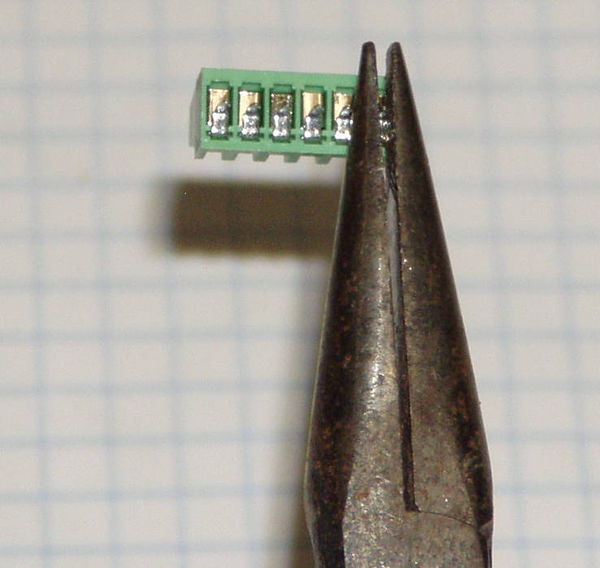
[[File:Hx711_connectors1.jpg|thumb|600px| Prepare connectors for installation on HX711 board.]] | [[File:Hx711_connectors1.jpg|thumb|600px| Prepare connectors for installation on HX711 board.]] | ||
| − | The connector pins are too large for the holes. Each connector pin | + | The connector pins are too large for the holes. Each connector pin needs to be squeezed slightly with pliers. |
Revision as of 15:33, 7 December 2014
Solder shield and connectors on HX711 board. This is already done on the developer kits.
These steps are only necessary if you obtained parts independently.
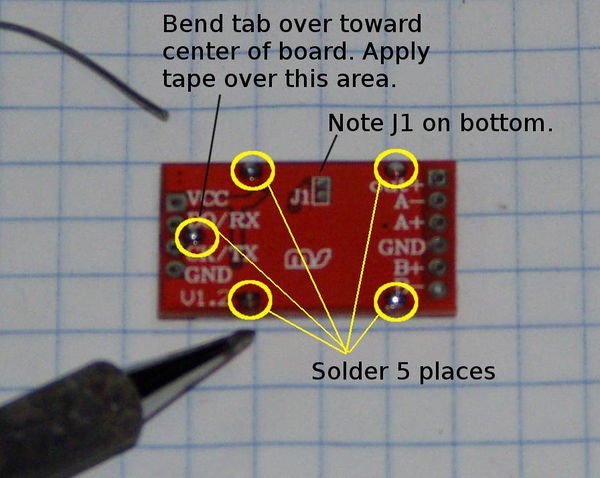
- Place shield over the components making sure all 5 tabs go into the holes.
- Turn board over and bend the tab nearest the 4 holes toward the center of the board. Bend this tab all the way over so it will not interfere with installing the connector.
- Solder all 5 tabs.
- Place a piece of tape over the tab that was bent over.
The connector pins are too large for the holes. Each connector pin needs to be squeezed slightly with pliers.
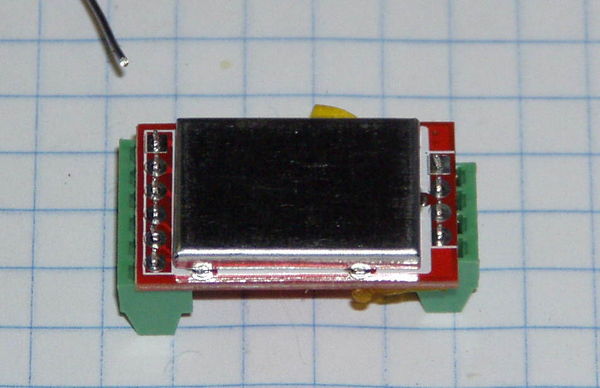
Turn the board over so the component side is up and solder the pins on the terminal blocks.


